Pat and I lined up our first game for the
WWPD Italy Campaign. I'm working on a Panzer IV army from the 26. Panzerdivision, but I'm pretty far from putting them into the field. I decided to field trucked Panzergrenadier company from the 90. Panzergrenadier Division instead from
Fortress Italy.
Pat's been working on a Kiwi Rifle Company from
Road to Rome, but like me, he's a ways out from being ready. Luckily I could cover him mostly with my Italian-theatre Canucks.
Mike's Panzergrenadierkompanie
90.PzGrnDiv (Confident Veteran) | | Patrick's New Zealand Rifle Company (Confident Veteran) | |
| HQ 2x SMG Panzerfaust | 65 | HQ | 5 |
| add 1x Panzerschreck | 25 | Rifle Platoon | 190 |
| Panzergrenadier Platoon (with faust) | 190 | Rifle Platoon | 190 |
| Panzergrenadier Platoon (with faust) | 190 | Rifle Platoon | 190 |
| Heavy Platoon (4x HMG, 2x 81mm) | 195 | Carrier Platoon (two patrols, 3x UC each) | 195 |
| Infantry Gun Platoon (2x 7.5cm leIG18) | 65 | add 5x .50 cal | 50 |
| Panzer Scout Platoon (3x Motorcyle) | 110 | add 1x .extra MG | 5 |
| Tank-hunter Platoon (4x Marder III) | 255 | Mortar Platoon (4x ML 3") | 120 |
| Assault Gun Platoon (4x StuG G) | 380 | Anti-tank Platoon (4x 6pdr) | 120 |
| Nebelwerfer Battery (3x 15cm NW41) | 105 | Armoured Platoon (3x Sherman III) | 250 |
| TOTAL | 1580 | Field Battery, RA (4x 25 pdr) | 200 |
| | Light AA Platoon, RA (2x Bofors, towed) | 65 |
| | TOTAL | 1580 |

We chose to fight it out in the Liri Valley. Pat used his option to Night Attack, putting me on the defensive in a Hasty Attack mission. Due to a trestle table logistics error, we were left to have to play on the floor. Also, my camera's flash is broken, so the bad photos I took were made somewhat OK using a sepia filter!
Game on!
I chose to defend on the right to guarantee good lines of fire. Pat's toops outnumbered mine, so if Pat got into the fields on the left, it would be very hard to stop his veterans. I also hoped the heavy terrain on his side would serve to slow his reinforcements.
I placed my objective in Pat's deployment in the lower left. My other one went in the centerline position in my deployment area. Pat placed his on either side of mine as far as possible.
I deployed heavily in the center with StuGs and Nebelwerfers. A Panzergrenadier unit (with 2x HMGs attached) covered the center and left flank. The other Panzergrenadier platoon (also with HMGs) was placed in Immediate Ambush. Mortars (Heavy Platoon), IG guns, Marders, and motorcycles were all in reserve. I left the right flank objective open.
Pat removed the right objective and placed two rifle platoons, a UC patrol, 25 pdrs, and 6pdrs, spearheading with the rifle platoons.
 |
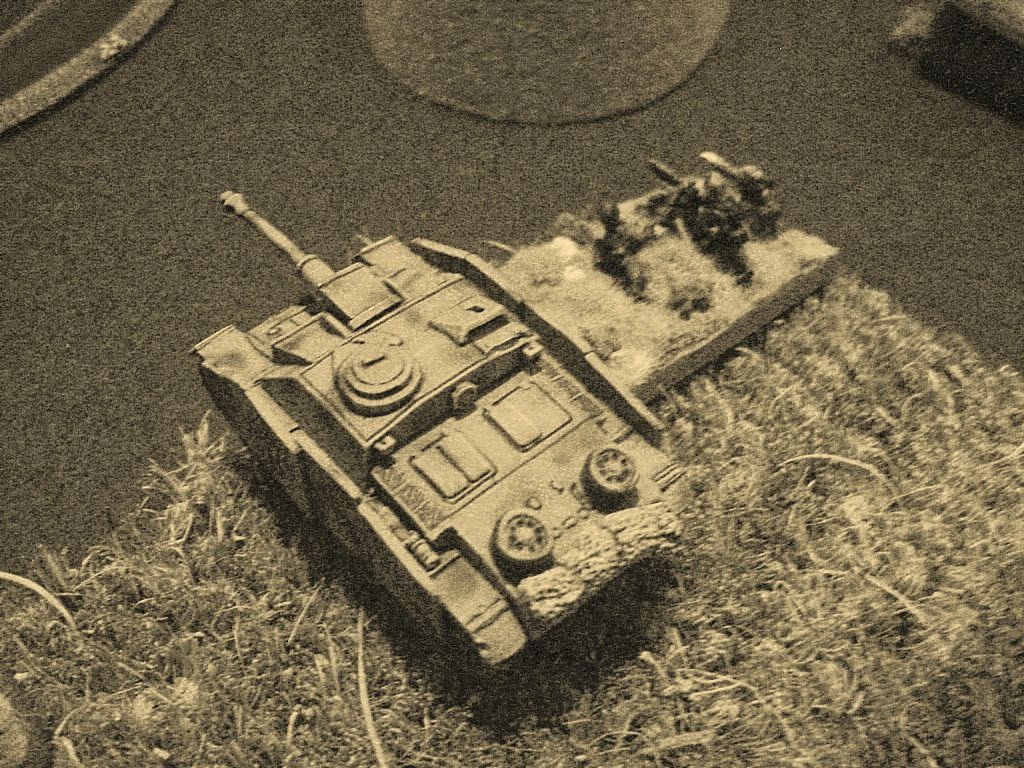
| Nebelwerfers hold the center objective. |
 |
| Angry Kiwis rush forward in a Spearhead move. |
 |
| Pat charges up to and over the stream. My troops struggle to see 4" in front of their faces (all of them). |
 |
| Backed by Universal Carriers, Pat's infantry pushes up to the stream under cover of darkness. |
 |
| My StuGs are the only thing that can see the Kiwis and opens fire on the 6pdrs before they can knock out my machine-guns, destroying two guns. |
 |
| An undeterred Kiwi assault is shaping up! My men and nebelwerfers still cannot see them and are blissfully unaware as to why those StuGs opened fire. Fortunately, the 25 pdrs are just as blind. |
 |
| If the infantry isn't going to do anything, the StuGs will! They move in and catch a platoon sneaking up on the left. |
 |
| After some back-and-forth, the StuGs seriously damage the Rifle Platoon, which backs off across the stream. The StuGs regroup and protect the one bailed-out vehicle. |
 |
| The Kiwis rally and work their way around the StuGs |
 |
| The Panzergrenadiers finally get wise and open fire on the advancing Kiwis with devastating effect. Pat's other rifle platoon is reduced to five teams. |
 |
| With night still hanging over the battlefield, Pat sneaks up and launches an assault. Though my troops are not pinned down, the night and dice try and conspire against me. Of 24 shots from the MG teams and 12 more from the HMGs, I only just manage five hits. Pinned Down, Pat's troops back off. |
 |
Sunrise!
The Panzergrenadiers are still intact having seen the worst of the attack off. I focus fire and try to eliminate the remainder of the Kiwi fragment platoons.
My shooting is not enough to cause Pat's men to break, so I launched an assault. With 8 shots, Pat pins me down! I'm forced back, which puts me in the kill zone of 25 pdrs and pats recently arrived 3" mortars! I suffer bad casualties and only barely pass my resulting morale check. |
 |
| As the battle progressed, the other Panzergrenadier platoon redeployed against the Kiwi attack. Exposed, they take casualties moving into position. The Platoon's HMGs get to work on the Kiwi infantry and arriving reserves. |
 |
| Pat's Shermans arrive to help push the attack through. The tanks get into a dual with the StuGs, which were ineptly trying to sort out the .50 cal Carriers. |
 |
More of Pat's troops arrive to take up the assault. The 25pdrs were working over my panzergrenadiers, killing several teams, so the situation was a bit precarious. My motorcycles foolishly tried to rush the incoming infantry and are reduced to one vehicle. My infantry are also reduced below half-strength and managed to pass platoon morale.
Pat's lost five platoons (of ten) and I'm checking morale all over the place. It's a race to the company break! |
 |
A disastrous attack by my Marders fails to seal the deal, and almost get themselves killed by .50 cal fire. After several turns of ineffectual fire, the StuGs finally dispatch Pat's universal carriers.
The final result was decided by my infantry guns engaging in a moving duel with Pat's Bofors, with the often-called 'useless' 7.5cm guns get the best of the high-powered AA guns. The result forces Pat to take a company morale check, which failed. |
Despite some really bad decisions to try and push Pat's troops back with motorcycle MGs, thinly-armored Marders, and costly infantry assaults, I managed to not lose any platoons.
6-1 German Victory!
Thanks to Patrick for the game! I'm getting cracking on my plastic Panzer IV Hs as I REALLY want to get them into action!
Panzer 4s you say... get them in action you want... Ideas I have...
ReplyDeleteCool AAR as usual, interesting photos for sure :)
ReplyDeleteThat's quite an open looking board, to my eyes anyway.
Thanks
In ways it was, in other ways it wasn't. It was a challenging board, especially with Night Attack.
Delete